
Mmmmm. Who doesn't like to snack on these overly-sweet little nuggets? They're probably the most iconic Halloween Treat.
Because you can only eat so many before your teeth ache, I decided to take Candy Corn to the next level... on my finger nails! Read on to learn how to make your finger nails look deliciously delectable.

What You'll Need:
1. Base Coat
2. White Nail Polish
3. Yellow Nail Polish
4. Orange Nail Polish
5. Top Coat
6. Nail Polish Remover to clean sides of nails once complete

What I Used:
1. China Glaze "Lemon Fizz"
2. Color Club "Lava Lamp"
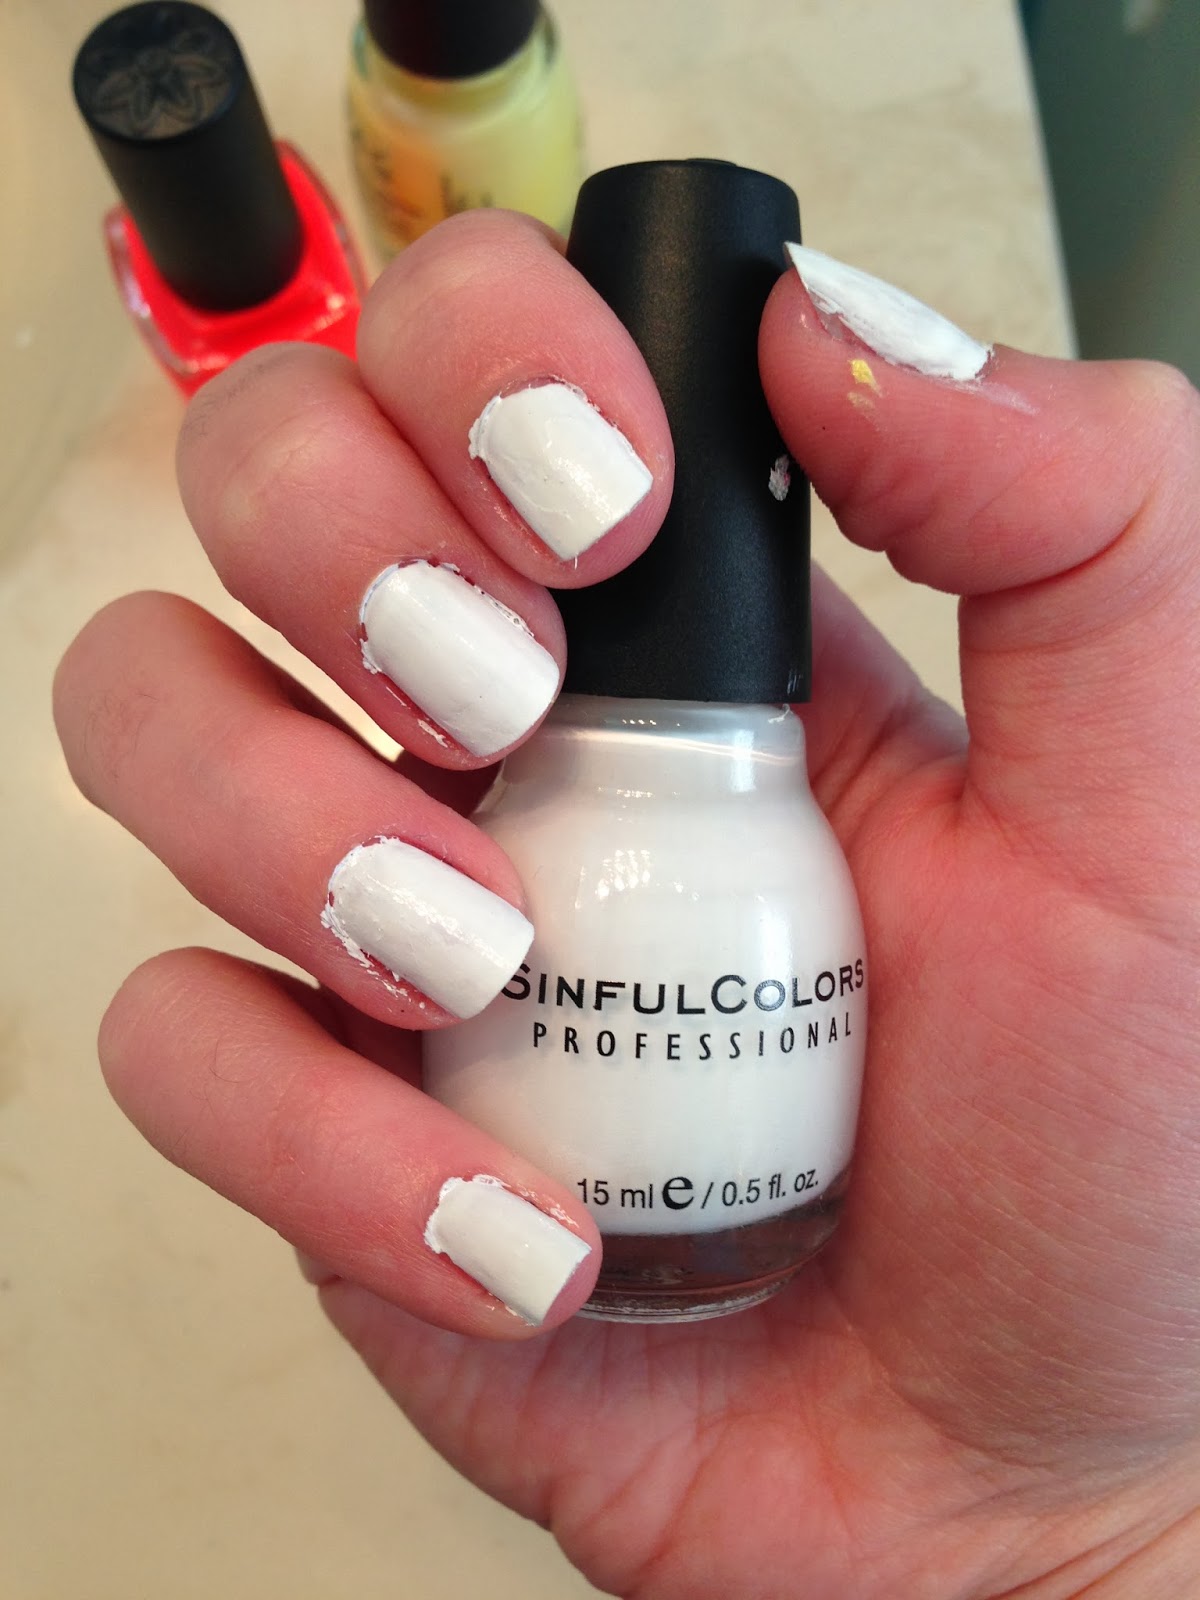
3. Sinful Colors "Snow Me White"
4. Seche Clear Base Coat
5. Seche Vite Top Coat
All nail polishes are available through Amazon and can be found through various beauty supply stores like Sally's Beauty Supply or even CVS Pharmacy.
STEP 1: Apply a base coat to the buffed and filed nail, and once dry, apply one coat of white nail polish.
STEP 2: Near the bottom of the cuticle, apply the yellow polish in a stripe shape. Don't be afraid to get messy- you can always clean up after with nail polish remover!
Fashionista Tip: Instead of moving the tip of the polish brush to get this shape on the nail, turn your finger as you paint on your nail- creating a steady-made stripe.

STEP 3: Above the yellow stripe, once dry, paint an orange stripe with the same turn of the finger motion. It's okay to overlap the yellow here, creating a more opaque stripe.

STEP 4: Once all is dry, apply a top coat, and clean up the sides with the nail polish remover.
Fashionista Tip: If you feel like the stripes you painted are too thin, you can always go over them again. Just remember to re-do all of the stripes then to even them out.

Want a different idea for your Halloween-themed nails? Check out these other sources for spooky designs!
- Mashable has a great compilation of Halloween nail designs, ranging from cobwebs, ghosts and jack-o-lanters. Looking at these pictures will allow you to copy the designs pretty easily.
- Elle magazine offers a step-by-step tutorial for "Toxic Nails" and "Salem, the Cat Nails." These are very helpful for someone who doesn't have well-developed nail art skills.
Fashionista Tip: I love how she mentions to use Scotch brand Blue Painter's Tape. By taping the skin of your finger surrounding your nail, it makes clean up much easier- just peel off and the manicure is done!
What Halloween nail design are you attempting, or currently wearing, this week? Share with me in the comments!
HAPPY HALLOWEEN NAIL PAINTING!
No comments:
Post a Comment